
Servers & data centre
Data Centre Decommissioning: A Practical Checklist
Decommissions rarely fail on the lifting. They fail on the boundary — the moment a crew is holding a cable that may or may not be feeding something live.
Updated · 8 min read · Data Sentry IT Asset Recovery
What are the steps in a data centre decommission?
Six phases: define the scope boundary in writing at rack and U-position level, fix and verify the power-down window, inventory at drive level and reconcile against your own export on site, remove hardware plus cabling and containment, decide value recovery before anything becomes scrap, then issue drive-level destruction and recycling documentation.
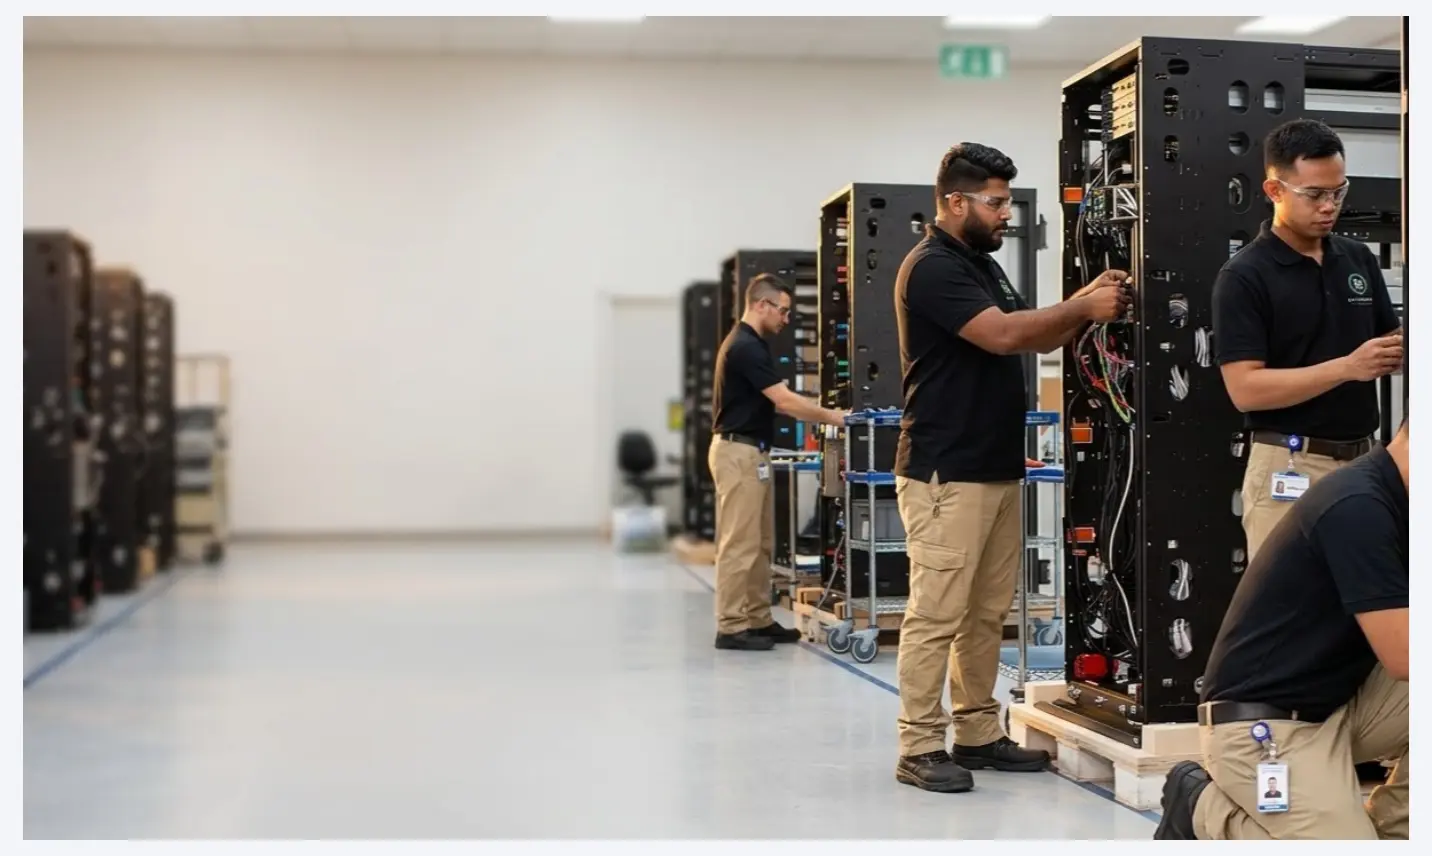
A data centre or server room decommission is the highest-density disposal a business will run: the most value per square metre, the most data per rack, and the most consequence per mistake. It is also the one where a generic IT disposal process is least adequate, because chassis-level thinking does not survive contact with a storage array.
This is the sequence we work to, written as a checklist you can use with any provider. Nothing in it is exotic. Skipping any of it is where the expensive surprises come from.
Phase 1 — Scope, before anyone touches anything
- 1 Define the boundary in writing — Rack, U position and cable run level. "Everything in rows four and five" is not a boundary; it is an argument waiting to happen at 2am. Nearly every decommission that goes wrong goes wrong here.
- 2 Produce an asset export — From your CMDB, asset register or hypervisor. It becomes the reconciliation baseline, and without it there is nothing to reconcile against.
- 3 Capture rack elevations and photographs — Front and rear of every rack in scope. The rear tells you more — PSU population, uplinks, cable density.
- 4 Identify third-party data — Anything holding customer or partner data brings contractual obligations that usually exceed statutory ones. Flag it now, because it changes the destruction method.
- 5 Agree destruction method per media type — Spinning disks, SSDs, NVMe and tape are not equivalent. One blanket policy applied to all four is how flash storage ends up inadequately sanitised.
- 6 Confirm access requirements — Free zone gate pass, outbound material permit, building loading bay, service lift, security clearance, out-of-hours window. All of it takes lead time.
Phase 2 — Power-down and disconnection
- 1 Fix the power-down window — A specific date and time with a named contact who can authorise, not a general week. Decommissions scheduled loosely expand to fill whatever is available.
- 2 Verify what is genuinely dead — Confirm at the PDU, not from a spreadsheet. Racks routinely contain something still live that nobody documented.
- 3 Trace before cutting — Cable management accumulated over a decade will contain runs nobody can account for. Trace, label, then cut — in that order.
- 4 Label as you go — Every removed item labelled against its elevation position. This is what makes the later reconciliation possible rather than archaeological.
Phase 3 — Inventory at drive level, not chassis level
This is the single most important technical distinction in a decommission, and the one most often got wrong.
A 2U server can hold twenty-four drives. A storage array can hold far more. A certificate stating that the server was destroyed says precisely nothing about any of the drives that were in it — and the drives are the liability. The chassis is metal.
So inventory has to be captured at drive level, with each drive's serial recorded, and reconciled against your own export before the crew leaves site. A discrepancy identified on the day is an operational question that someone can walk down the row and answer. The same discrepancy identified three weeks later is an incident with no way to investigate it.
- Serial capture per drive — Not per chassis, and not per rack.
- Live reconciliation against your export — Done on site, with both parties present.
- Documented exceptions — Missing, failed or unreadable drives recorded explicitly rather than silently omitted.
- Countersigned register — Both parties sign before anything leaves the floor.
Phase 4 — Removal, cage-out and the forgotten infrastructure
The equipment is the visible part. The infrastructure around it is heavy, valuable and routinely left out of scope until it is discovered on the last day.
- Cabinets and racks — Steel, and awkward to move once empty. Decide early whether they are staying.
- Structured cabling and patch panels — Copper-dense and genuinely valuable in bulk. Also enormously time-consuming to pull, so it must be priced in rather than assumed.
- Containment and cable trays — Frequently overlooked entirely until the room needs to be handed back empty.
- Rack PDUs and UPS systems — UPS battery strings need specific handling and containment. Flag them in advance or the vehicle arrives unable to take them.
- Cooling and environmental hardware — In-row units, sensors and monitoring gear. Often out of scope for an IT provider — confirm rather than assume.
Phase 5 — Value recovery, before it becomes scrap
A decommissioned data hall contains a great deal of liquid value, and the default path destroys most of it. Modern processors, ECC memory in quantity, enterprise SSDs, GPUs and optical transceivers all have active resale markets. Treating a rack as scrap metal typically forfeits the large majority of what it was worth.
Where you permit remarketing after verified sanitisation, the recovery is frequently many times a scrap valuation, and it is worth setting that policy deliberately rather than by omission. Where third-party data or contractual obligations make destruction the only acceptable route, that is a legitimate and often correct trade — but it should be a decision you made, not a default you inherited.
Phase 6 — Documentation
- Drive-level Certificate of Destruction — Naming each drive serial and the method. This is what you pass to your own customers if you host their data.
- Reconciled asset register — Matched against your export, with exceptions documented.
- Chain-of-custody record — Signed at handover, closing the timeline between the floor and the facility.
- Recycling report — Material stream and processing outcome, for HSE and sustainability reporting.
- Retention confirmation — Written confirmation that records are retained and certificates can be re-issued. Audits arrive years later.